How to Replace a Ball Valve Without Calling a Plumber
Quick Summary
A leaking or stuck ball valve can usually be replaced by a homeowner in 30-60 minutes with basic tools. Shut off the main water supply, identify the connection type (threaded is easiest for DIY), use two wrenches to remove the old valve, wrap PTFE thread seal tape on the pipe threads, and install the new valve. Brass ball valves work for most residential plumbing; stainless steel (SS316) is better for corrosive environments. Avoid overtightening, always use thread seal tape, and call a plumber if the pipes are corroded, the valve is soldered in a wall, or gas lines are involved.
A leaking or stuck ball valve can be frustrating — especially when it starts affecting your water flow or creates small leaks under the sink or near outdoor piping.
The good news? In many cases, replacing a ball valve is much easier than most people think. With a few basic tools and some patience, many homeowners can replace a ball valve themselves without calling a plumber.
This guide will walk you through the process step by step.
What Is a Ball Valve?
A ball valve is a type of shut-off valve commonly used in:
- Home plumbing systems
- Outdoor water lines
- Irrigation systems
- Water heaters
- Commercial piping systems
Inside the valve is a rotating metal ball with a hole through the center. When the handle turns, the hole either allows water to pass through or blocks it completely.
Ball valves are popular because they:
- Last a long time
- Seal tightly
- Are easy to operate (quarter-turn)
- Require little maintenance
How Do You Know Your Ball Valve Needs Replacement?
You may need to replace your ball valve if you notice:
- Water leaking around the handle
- Corrosion or rust on the valve body
- The handle is difficult to turn
- Water still flows when the valve is closed
- Cracks on the valve body
If the valve no longer shuts off properly, replacement is usually the safest solution.
What Tools Do You Need?
| Tool / Material | What It's For |
|---|---|
| Adjustable wrench | Loosening and tightening valve fittings |
| Pipe wrench | Gripping the pipe to prevent rotation |
| PTFE thread seal tape | Sealing threaded connections to prevent leaks |
| Bucket or towel | Catching residual water during removal |
| New replacement ball valve | Matching your pipe size and connection type |
| Gloves | Protecting your hands from sharp threads |
| Pipe cutter (optional) | For compression or soldered connections |
| Penetrating oil (optional) | Loosening stuck or corroded fittings |
How to Replace a Ball Valve in 5 Steps
1 Shut Off the Main Water Supply
Before removing any valve, turn off the main water supply to your home.
Then open a nearby faucet to release any remaining pressure inside the pipes.
Keep a towel or bucket nearby because some water may still drain out.
2 Identify the Valve Connection Type
Ball valves are commonly connected in three ways:
| Type | Description | DIY Difficulty |
|---|---|---|
| Threaded | Screws onto pipe threads (NPT or BSP) | Easiest |
| Compression | Uses compression fittings with a nut and ferrule | Moderate |
| Soldered | Connected using soldering (sweat fitting) | Advanced — consider calling a plumber |
Threaded valves are usually the easiest for DIY replacement.
3 Remove the Old Ball Valve
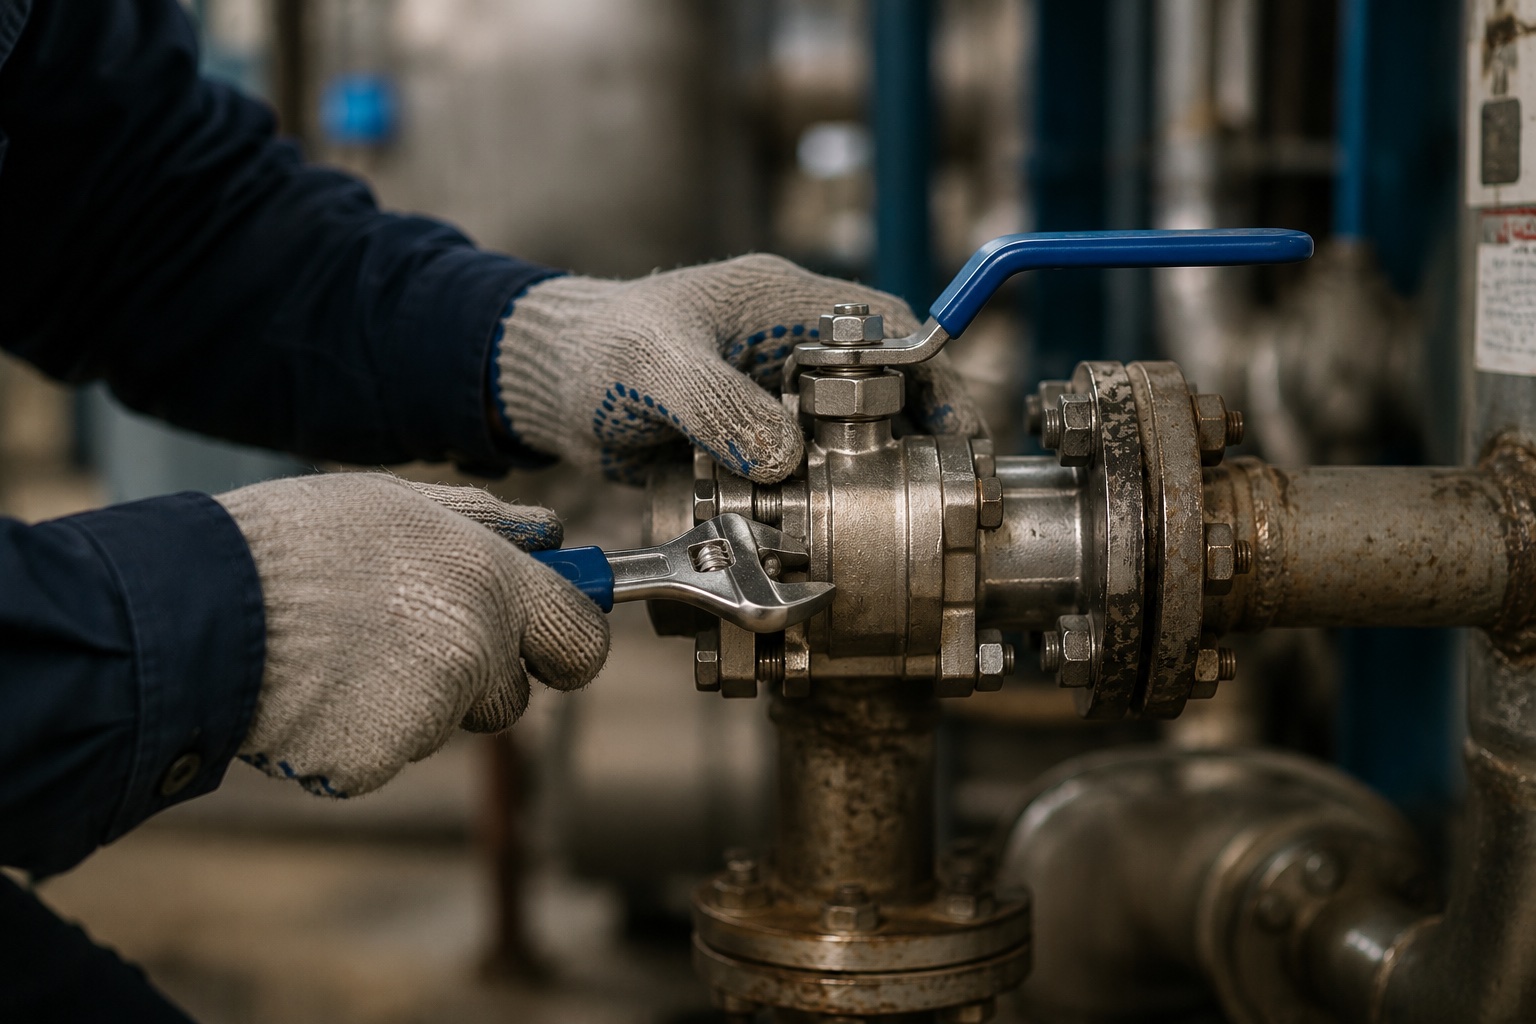
Use one wrench to hold the pipe steady. Use the second wrench to slowly loosen the valve. Turn carefully to avoid damaging the pipe.
Once removed, clean the pipe threads thoroughly. Remove any old tape, sealant, or debris.
4 Install the New Ball Valve
- Wrap PTFE thread seal tape around the pipe threads — 3-5 wraps in the same direction the valve will tighten (clockwise when looking at the thread end)
- Screw the new valve onto the pipe by hand first
- Tighten firmly using a wrench, but avoid overtightening — this can crack fittings or damage threads
- Make sure the valve handle remains accessible after installation
5 Turn the Water Back On and Test
- Slowly reopen the main water supply
- Check the valve carefully for leaks at all connection points
- Open and close the valve several times to ensure smooth operation
- If you notice dripping around the threads, tighten slightly more
- Dry the area and check again after 30 minutes to confirm no slow leaks
What Are the Most Common DIY Mistakes to Avoid?
Over-Tightening the Valve
Too much force can crack fittings or damage threads. With proper tape, a firm wrench turn is enough.
Using the Wrong Valve Material
Different environments require different materials:
- Brass ball valves — common and cost-effective for standard residential plumbing
- Stainless steel ball valves (SS304/SS316) — better corrosion resistance, recommended for outdoor, coastal, or industrial applications
Forgetting Thread Seal Tape
Without proper sealing, small leaks may appear even if the valve feels tight. Always wrap PTFE tape before threading.
When Should You Call a Professional?
DIY replacement may not be ideal if:
- Pipes are heavily corroded — brittle pipes can break under wrench pressure
- The valve is soldered inside a wall — requires torch work and access
- The system involves gas lines — never DIY gas valve replacement
- You are unsure how to shut off the water safely
In those cases, contacting a licensed plumber is recommended. A professional can typically replace a ball valve in 30-60 minutes.