How to Fix a Leaking Shut-Off Valve: Step-by-Step DIY Guide
Quick Summary
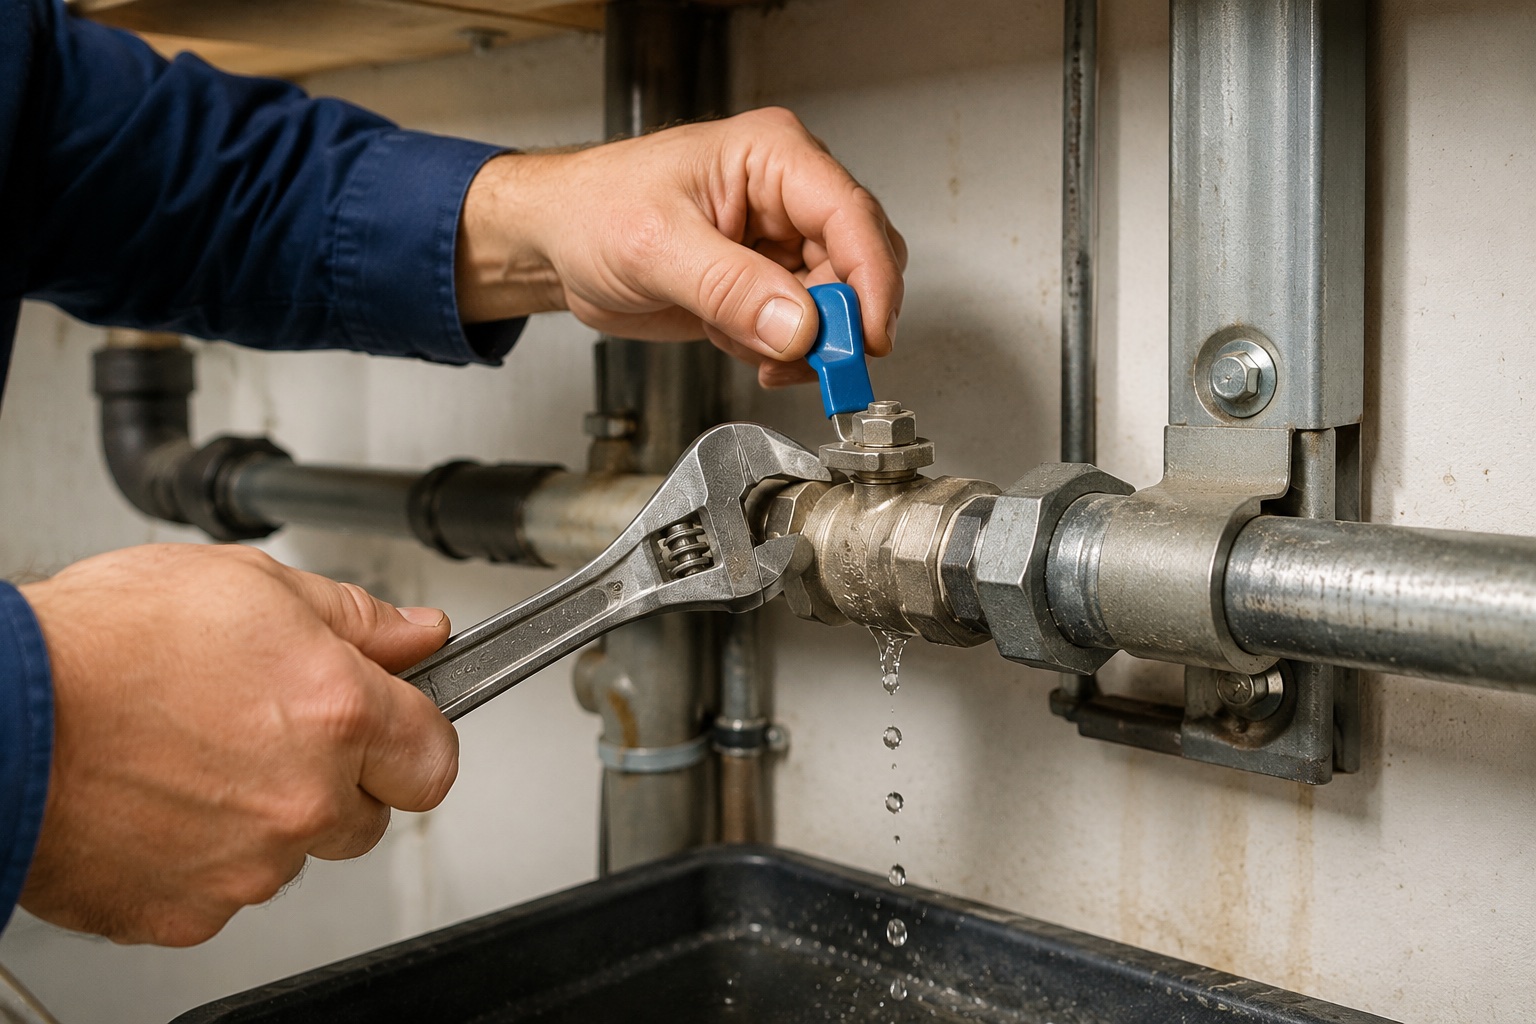
A leaking shut-off valve usually drips from the packing nut around the stem. The fix takes 10-45 minutes depending on severity. First, try tightening the packing nut 1/8 to 1/4 turn clockwise with an adjustable wrench. If the drip continues, turn off the main water, remove the packing nut, and replace the internal washer or wrap the stem with Teflon packing rope. If the valve body is cracked or heavily corroded, replace the entire valve with a quarter-turn ball valve using compression or push-fit connectors. A single dripping valve can waste over 3,000 gallons per year. Most repairs cost under $10 in parts.
A dripping shut-off valve under a sink, behind a toilet, or at your water heater is easy to ignore. The drip is slow. The damage is invisible. So most people put a towel under it and forget about it.
That's a mistake. A slow drip wastes water, raises your bill, and can cause mold, rot, or water damage inside the cabinet or wall over time. The average shut-off valve lasts 10-15 years — if yours is older than that, a leak is practically inevitable.
The good news: most shut-off valve leaks are simple to fix, even if you've never done plumbing work before. A DIY repair costs $5-15 in materials. A plumber charges $150-350 for the same job.
Why Is My Shut-Off Valve Leaking?
Shut-off valves leak for three main reasons:
- Loose packing nut — The hexagonal nut around the valve stem loosens over time from vibration and use. Water seeps around the stem when the valve is opened or closed.
- Worn packing washer — The rubber or graphite washer inside the packing nut compresses and deteriorates over years. Once it no longer seals against the stem, water drips out.
- Corroded or cracked valve body — Older brass or gate valves can develop pinholes or cracks from mineral buildup and age, especially in areas with hard water (above 120 mg/L calcium carbonate, per USGS). Roughly 85% of U.S. homes have hard water.
What Tools Do You Need to Fix a Leaking Valve?
| Tool / Material | What It's For |
|---|---|
| Adjustable wrench | Tightening and removing the packing nut |
| Tongue-and-groove pliers (Channellock) | Holding the valve body steady while turning the nut |
| Flathead screwdriver | Removing the handle screw (if applicable) |
| Teflon packing rope or replacement washer | Re-sealing the stem if the old washer is worn |
| Teflon tape (PTFE thread seal tape) | Sealing threaded connections when replacing fittings |
| Bucket and towels | Catching residual water when disassembling |
| Replacement valve (if needed) | Quarter-turn ball valve, compression or push-fit type |
How to Fix a Leaking Shut-Off Valve in 6 Steps
Follow these steps in order. Most leaks are fixed by Step 3 or Step 4.
1 Identify Where the Leak Is Coming From
Before you touch anything, figure out the exact leak point. Dry the valve completely with a towel and wait.
The three most common leak locations:
- Packing nut area (around the stem) — the most common, and the easiest to fix
- Supply line connection (the fitting at the bottom) — usually a loose compression nut
- Valve body (cracks or pinholes) — requires full valve replacement
2 Turn Off the Main Water Supply
If you're only tightening the packing nut (Step 3), you may not need to turn off the main water. But for any repair beyond that, always shut off the main first.
- Find your main shut-off valve (near the water meter or where the main line enters your home)
- Turn it fully clockwise to close
- Open a faucet on the lowest floor to drain remaining pressure
- Open another faucet on an upper floor to let air in and speed drainage
Place a bucket and towels under the valve you're about to repair.
3 Tighten the Packing Nut
This fixes most shut-off valve leaks in under 5 minutes.
The packing nut is the hexagonal nut directly below the valve handle (or the round knob). Use an adjustable wrench to turn it 1/8 to 1/4 turn clockwise.
Turn the water back on and check. If the drip stops, you're done.
4 Replace the Packing Washer
If tightening doesn't stop the leak, the washer inside is worn out and needs replacement.
- Make sure the main water is off
- Remove the valve handle (usually one screw on top)
- Unscrew the packing nut with a wrench
- Pull out the old washer — it may be flat rubber, an O-ring, or graphite string
- Install a new washer of the same size, or wrap the stem with Teflon packing rope 3-4 times clockwise
- Reassemble: packing nut, then handle
- Turn water back on and test
5 Replace the Entire Valve (If Needed)
Replace the valve if:
- The valve body is cracked or corroded through
- It's an old multi-turn gate valve that no longer closes fully
- The leak returns after washer replacement
Best replacement choice: a quarter-turn ball valve. Ball valves seal more reliably, last longer, and you can tell at a glance whether they're open (handle parallel to pipe) or closed (handle perpendicular).
For DIY installation, push-fit (push-to-connect) ball valves are the easiest option — no soldering, no special tools. Just cut the pipe clean, deburr the edge, push the valve on, and it's sealed.
6 Turn Water Back On and Test
- Slowly turn the main water back on (a quick full open can cause water hammer)
- Check every connection point for drips
- Let the water run for 2-3 minutes
- Dry all surfaces around the repair
- Check again after 30 minutes to confirm no slow leaks
Should You Repair or Replace a Leaking Shut-Off Valve?
| Scenario | Repair | Replace |
|---|---|---|
| Drip from packing nut, valve less than 10 years old | Yes — tighten or replace washer | No |
| Old gate valve that won't fully close | No | Yes — upgrade to ball valve |
| Visible cracks or green corrosion on body | No | Yes — valve body is compromised |
| Leak at supply line connection only | Yes — re-tighten or re-tape fitting | No |
| Leak returns after washer replacement | No | Yes — internal damage likely |
What Type of Shut-Off Valve Should You Buy as a Replacement?
Most homes have one of these shut-off valve types:
- Gate valve — the old multi-turn round handle. Common in homes built before 2000. Prone to seizing and failure. If yours has failed, replace it with a ball valve.
- Ball valve — quarter-turn lever handle. More reliable and longer-lasting. This is the modern standard for residential shut-offs.
- Compression fitting — connects to copper pipe with a nut and ferrule. No soldering needed.
- Push-fit (SharkBite style) — pushes directly onto copper, PEX, or CPVC. Easiest for DIY. No tools required for the connection itself.
When buying a replacement, match the pipe size (usually 1/2" or 3/8") and outlet size (3/8" compression for most faucets and toilets). Bring the old valve to the store if unsure.
What Are the Most Common DIY Mistakes?
Avoid these — they turn a 15-minute fix into a flooded kitchen:
- Leaving the water on during repair — If anything goes wrong with a pressurized line, you'll have full water pressure spraying everywhere.
- Over-tightening the packing nut — Cracks the valve body or crushes the washer, making the leak worse than before.
- Using only one wrench — Always hold the valve body with a second wrench (or pliers) while turning the packing nut. Without it, you risk twisting the supply pipe and cracking the fitting.
- Forcing a seized valve — Especially dangerous on main shut-offs. If it won't budge, apply penetrating oil and wait, or call a plumber.
- Wrong replacement size — Always bring the old valve to the hardware store, or measure the pipe diameter first. Common sizes are 1/2" and 3/8".
- Not testing long enough — Run a dry paper towel around every connection after repair. Some slow leaks don't appear for 30 minutes.
When Should You Call a Plumber Instead?
DIY is great for simple valve repairs. But call a professional if:
- The valve body is cracked and water is spraying, not dripping
- You have galvanized steel pipes — they're brittle and can break when you apply force
- You can't find or turn off the main water shut-off
- The valve is on the main water line or near the water heater
- You see mold, rotted wood, or water stains on the surrounding wall — there may be a hidden leak behind the wall
A professional plumber can typically replace a shut-off valve in 30-60 minutes.